If you’ve ever been to any cultural fair or festival, you’ve probably seen the art of henna. But the art goes much deeper than a fun activity at a party. It is an integral part of India and many other countries in South Asia, Northern Africa, the Middle East and Europe.
The Asian Culture Center offers henna lessons from 5 to 6 p.m. every Monday.
The origin of henna is unknown, but Asian Culture Center member Risana Malik said she estimates it began at least 1000 years ago.
“Wherever the plant grows, there’s been people using it for decorative purposes,” Malik said.
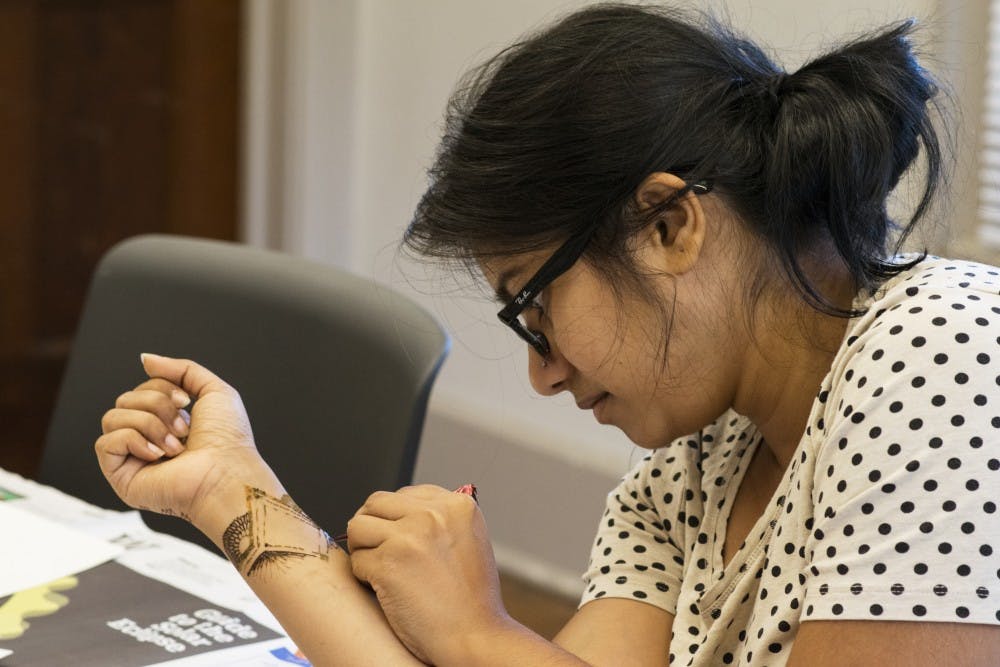
Henna dye is usually made by taking the henna plant and milling the paste into a dry powder, Malik said. The powder is then combined with an oil or water to create a paste.
Ancient Egyptians used the henna plant paste as hair dye. Today it is used for all kinds of celebrations, especially weddings, Malik said.
Before the wedding, brides are covered in henna, sometimes from head to toe in intricate designs.
“It’s a nice community activity,” Malik said. “It brings people together.”
To some, the art of henna is so important that it carries its own superstitions. Malik said that some people believe the darker the henna, the more the husband will love the bride.
“For me, it’s just an aesthetic thing," she said. "It’s how nicely the henna conforms to the contours of your hands. It’s beautiful.”
How to do your own henna art with tips from Malik:
1. Hold the tube of paste like a pencil and start with a focal point, such as a dot or a line.
Tip: It’s easier to draw straight lines if you hold the tube further away from your hand.
2. Build outward from the focal point, adding details along the way.
Tip: If your hand starts shaking from holding the tube, you can fold it in half to get a better grip.
3. Go back to add in smaller details or shade in areas that look empty. Floral designs are popular in henna.
Tip: If you mess up a line, drawing another adjacent line and shading in between the two will usually help.
4. When you’re finished with your design, let the paste dry for about 30 minutes. It will begin to flake off and leave a stain underneath.