
It seems those DIY moms with their DIY blogs possess magical artistic powers we average crafters can’t live up to. We try. We fail. Our walls remain blank. So we took some time to search our own Pinterest boards for DIY crafts that you really can do yourself. Successful crafternoon, guaranteed.
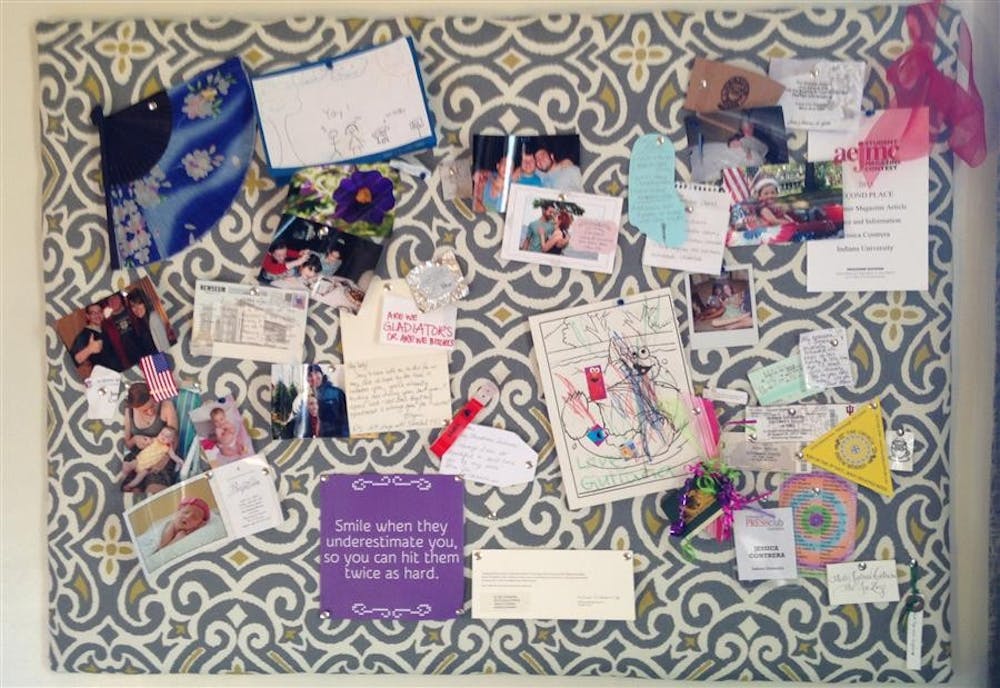
Not your teacher’s bulletin board
The versatility of a bulletin board is perfect for college students, but if you’re hoping for more than a brown cork background to your collage, try this out.
Supplies
Cork board
Batting (available at any craft store)
Fabric — 1 ft. wider and taller than the size of your bulletin board
Staple gun or hot glue
Step 1: Roll the batting (it’s like fluffy white pillow stuffing that comes in a sheet) onto your cork board.
Step 2: Cut the batting so it is the same size as your cork board.
Step 3: Iron your fabric for a no-crease look.
Step 4: Lay the fabric flat on top of the batting, then wrap the edges around.
Step 5: Keeping the fabric tight, staple or glue the edges of the fabric to the back of your corkboard.
Step 6: Hang and enjoy.
Bottle cap magnets
The ultimate college-chic look for your fridge.
Supplies
Bottle caps
½-inch wide magnets
Hot glue
Step 1: Glue magnet to back of bottle cap
Step 2: Place on fridge
Step 3: Say “Oh thank you, I made them” every time your guests compliment your creation.
Framed chalkboard
Chalk paint is all the Pinterest rage, but we doubt your landlords would be okay with you transforming that bedroom wall. Try this instead.
Supplies
Frame with no backing or glass
Thin sheet of plywood
Spray chalk paint
Chalk
Thick tape
Step 1: Find a frame you like. You can buy a new one, but thrift and antique stores are usually the best place to find frames with pizzazz on a budget. Once found, measure the size of your frame’s interior, where the chalk board will go.
Step 2: Head to a hardware store like Lowe’s, which will cut your wood for free. Find a thin piece of plywood and ask a salesperson to cut the sheet to the size of your frame.
Step 3: Spray the plywood with chalkboard paint. Use thin, even coats, and let it dry all the way in between.
Step 4: “Prime” your chalkboard by rubbing your chalk across the entire surface. This will fill in any holes in the wood. If you skip this step, the lines of your first chalkboard drawing will be faintly engraved there forever.
Step 5: Place your now chalked-up plywood into the frame, and tape the edges down.
Step 6: Hang and draw away.
Scrapbook paper dry erase board
If you’re a chronic list-maker in need of a pretty way to display your to-do list (it’s less overwhelming when it’s pretty), then avoid those white, boring department store dry erase boards and make your own instead.
Supplies
Picture frame with glass
Scrapbook paper
Dry erase marker
Step 1: Find yourself a frame — old or new — that you think would make a nice addition to your wall. You can always go cheap and find one at Goodwill. Sometimes they have rustic, vintage frames that you can use straight off the shelf. If not, just find a shape you like and paint it.
Step 2: Make your way to Hobby Lobby, Michael’s or some other craft store and find the scrapbook paper. They’ll have rows upon rows of patterned paper in every color. You can buy individual sheets for less than a dollar each or a full booklet for less than $10. Buy a pack of dry-erase markers while you’re there.
Step 3: Measure and cut the paper to fit your frame. Use Windex to make sure the glass is smudge free and assemble your frame, placing the paper where a photo would normally go. Since the paper is so cheap, you can easily switch up your colors and patterns as your design tastes change.
Step 4: Hang on the wall and make that to-do list.


