Looking through blogs and magazines for design inspiration is a great idea, but these ideas aren’t always budget friendly. Use these simple methods to upgrade used furniture and make your design dreams an inexpensive and personalized reality.
Paint
For a new, fresh look, take a can of paint to old furniture.
FINISHED FURNITURE
You’ll need:
Screwdriver, medium-grit sandpaper, tack cloth, primer, paint, paint roller or paint brush, paint tray, paint stirring stick, polyurethane
Steps:
If painting a piece of finished furniture, remove all hardware such as hinges and knobs. Make sure to label each hinge and knob with a piece of tape and a permanent marker.
Sand the surface until the shine is gone. Clean the surface and apply two to three thin coats of primer followed by two to three thin coats of paint with a semi-gloss or gloss finish.
Seal with polyurethane and replace all hardware.
UNFINISHED FURNITURE
You’ll need:
Wood filler, medium-grit sandpaper, tack cloth, primer, paint, paint roller or paint brush, paint tray, paint stirring stick, polyurethane
Steps
Fill all scratches or chips with wood filler. Sand and clean the surface. Apply two to three thin coats of primer followed by two to three thin coats of paint with a semi-gloss or gloss finish. Seal with polyurethane.
For extra credit, use stencils or painter’s tape for fun designs.
Stain
For a classic or understated look, take a can of stain to old furniture.
FINISHED FURNITURE
You’ll need:
Paint and varnish stripper, putty knife, medium-grit sandpaper, tack cloth, conditioner, stain, polyurethane
Steps:
Strip the surface of all paint and varnish with a paint and varnish stripper and putty knife. Sand and clean the surface. Apply conditioner with a cloth. Within two hours of applying the conditioner, apply stain with another cloth. The thicker the layer and the longer the contact, the darker the stain. Seal with polyurethane.
UNFINISHED FURNITURE
You’ll need:
Medium-grit sandpaper, tack cloth, conditioner, stain, polyurethane
Steps:
Sand and clean the surface. Apply the conditioner with a cloth. Within two hours of applying the conditioner, apply the stain with another cloth. Again, the thicker the layer and the longer the contact, the darker the stain. Seal with polyurethane.
For extra credit, pair dark stains with bright accessories or light stains with dark accessories.
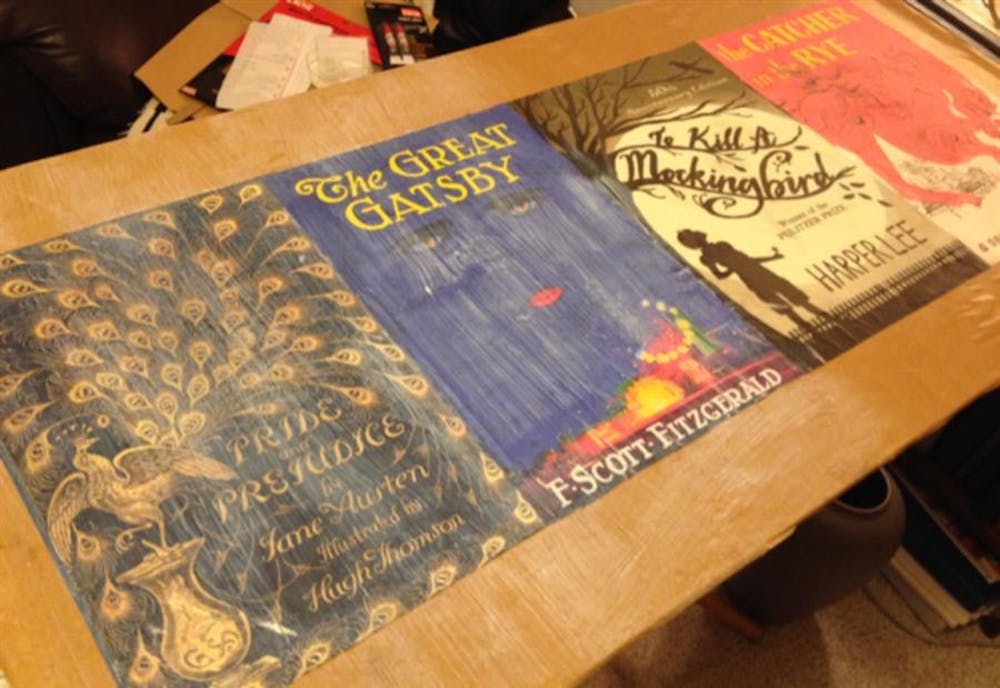
Decoupage
Decoupage is a cost-effective way to turn ugly or old furniture into a piece fit for a Pottery Barn showcase.
FINISHED AND UNFINISHED FURNITURE
You’ll need:
Decoupage glue, paint brush or sponge brush, smoothing tool, decoupage material of choice.
Decoupage glue
Using Mod Podge, the unassuming decoupage sealer, with glue and finish is the cult favorite. Other products including Americana Decoupage and local hardware store brands are also options.
For those feeling brave, recipes for decoupage glue can be found on the Internet.
Just beware of Frankenstein pastes — they could ruin furniture for good.
Decoupage material wallpaper, color swatches, newspaper or magazine pages, music sheets, fabric — the options are endless.
Steps
Apply one or two layers of decoupage glue to the surface to be decoupaged. Use a smoothing tool to lay down the chosen decoupage material and flatten any air bubbles of wrinkles.
This can be a straight edge as small as a credit card or as large as a textbook.
Let the surface dry for at least 20 minutes — the bigger the surface, the longer dry time.
Once dry, apply one to two more layers of decoupage glue to the surface to seal and add a glossy finish.
For extra credit, decoupage on top of a solid colored paint for a bold, chic contrast.
Repurpose
Perhaps the simplest way to update old furniture is to merely repurpose it.
Try transforming:
An old bench into an end table.
A painted, stained or fabric-covered old bench makes for a chic end table. For extra credit, add a coffee table book, a vase of flowers — fake or real — or a row of candles.
An old pair of chairs into a loveseat.
Merely push together two old chairs and cover with a large seat cushion. For extra credit, add an assortment of pillows.
An old stepladder into a shelf.
A painted, stained or fabric-covered stepladder makes for a rustic shelf. For extra credit, hang the stepladder on the wall rather than lean it against the wall.
An old set of drawers into a set of under-the-bed boxes. Simply paint a set of drawers from an old dresser and slide under your bed. For extra credit, attach a set of wheels for quick and easy access.
The Furniture Hook-Up
Bloomington is brimming with places to purchase new or used furniture at cheap prices.
Scour the nearby Goodwill, Salvation Army or St. Vincent De Paul for local steals.
Thrift and consignment stores such as the Antique Mall, Blue Moon Consignment, the Furniture Exchange, IConsign, the IU Surplus Store, Long’s Landing, Stella’s Furniture Place, Thompson Furniture and Wright’s Used Furniture are sprinkled throughout Bloomington.
For online purchases, hit up eBay, Craigslist or the IU Classifieds. For the best deals, check out the garage or basement.
Mom’s 1980s plaid couch may not be attractive, but that can be fixed, too.
Finding Your Inspiration
Painting, staining, decoupaging and repurposing won’t fit the bill? Not to worry.
The World Wide Web, with its plethora of website full of crafting inspiration, has your back.
The hallowed cyber halls of Pinterest act as the perfect place to find, organize and store ideas for future furniture renovation. The DIY Network, HGTV and TLC provide endless expert tips and tricks. Check out Apartment Therapy to find a list of the best DIY and home improvement blogs.
Just don’t get so caught up in the blogs that you forget to start your project.